I remember standing in a school kitchen three years ago, watching a trainee try to shove a massive, steaming pot of bolognese directly into a walk-in fridge. The air was thick with condensation, and I could practically feel the temperature of that fridge climbing by the second. Most textbooks will give you a complete guide to cooling food safely that involves expensive blast chillers and complex, multi-stage monitoring that simply doesn’t work when you’ve got forty minutes to get lunch out to three hundred hungry kids. They treat cooling like a laboratory experiment, but in a real kitchen, it’s a race against biology that you’re usually running with one hand tied behind your back.
I’m not here to sell you on high-tech gadgets you don’t have the budget for or paperwork that exists only to satisfy an auditor. Instead, I’m going to give you the practical, unvarnished reality of how to manage heat. We are going to focus on the small, repeatable habits—like portioning, ice baths, and realistic timing—that actually stop bacteria from doing their worst. This isn’t about perfection; it’s about sustainable control that keeps your staff sane and your students safe.
Table of Contents
Conquering the Danger Zone Temperature Range With Realism
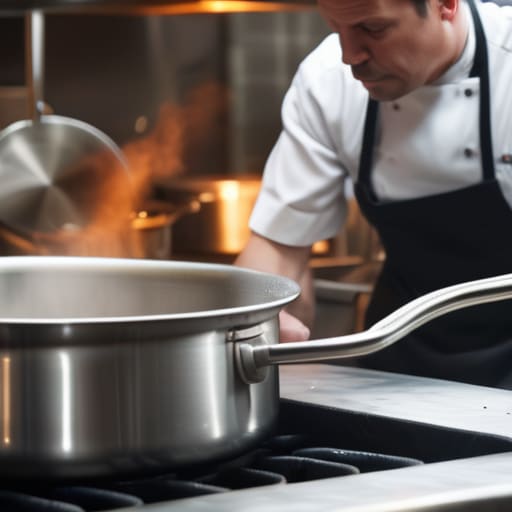
Look, I know the theory. You’ve all seen the charts in your training manuals telling you that the danger zone temperature range is between 8°C and 63°C. It’s easy to read when you’re sitting in a classroom, but it’s a different story when you’re standing in a hot kitchen at 2:00 PM with three massive pots of stew that need to be put away before the next service. If you just shove those steaming pots straight into the walk-in, you aren’t just risking the stew; you’re raising the ambient temperature of the entire fridge and putting every other high-risk item at risk.
You don’t need a miracle to fix this; you just need a disciplined two-stage cooling process. The goal isn’t perfection, it’s speed and monitoring. I’ve seen kitchens fail not because they didn’t care, but because they didn’t have a system for the “middle bit”—that awkward period where the food is too hot for the fridge but too cool to stay on the stove. Don’t try to wing it. Whether you’re using an ice bath food cooling technique or splitting large batches into shallow gastros, the priority is getting that core temperature down fast enough to stop bacteria from having a party.
Mastering the Two Stage Cooling Process Under Pressure
Look, I know the theory. You’ve seen the charts telling you that you need to get food from 60°C down to 20°C within two hours, and then down to 5°C within the next four. In a perfect world with infinite staff, that’s easy. In a school kitchen where you’re staring down a lunch service for three hundred kids, the two-stage cooling process feels like an impossible luxury. But here is the reality: if you skip those stages and just shove a massive, steaming pot of stew into the walk-in, you aren’t just being efficient; you’re creating a heat trap that keeps the core of that food in the danger zone for hours.
If you’re feeling the squeeze, stop trying to cool everything the same way. For large batches, don’t rely on air alone. I always tell my teams to lean heavily on the ice bath food cooling technique. Divide your contents into shallow, wide containers—never deep pots—and set them in ice water before they even touch the fridge. It’s a bit more washing up, I know, but it is the single most effective way of preventing bacterial growth in leftovers and cooked components when you are short on time.
Five Practical Tactics for When the Kitchen is Screaming
- Stop the “Giant Pot” Habit. I see this in almost every school kitchen I visit: a massive, deep pot of hot stew or soup left to sit on the counter. It’s a thermal trap. The outside cools, but the core stays in the danger zone for hours. Use shallow GN pans instead; spread the food out so it has more surface area to breathe. It’s more washing up, I know, but it’s the only way to be sure.
- The Ice Bath is Your Best Friend, Not a Luxury. If you’re working with limited staff and a single reach-in fridge, you cannot rely on air cooling alone. Get a sink, some ice, and a little water, and drop those containers in. It’s the fastest way to drop the temperature before that food even touches your fridge shelf.
- Don’t Crowd the Fridge. This is a classic mistake. You take a large batch of food that’s just started cooling and shove it into a crowded fridge. You’ve just created a micro-climate of heat. If the air can’t circulate around the containers, the middle of your batch will stay warm long enough to let bacteria throw a party. Give your cooling items breathing room.
- Labeling is Not Just for Compliance, It’s for Sanity. When the lunch rush ends and the kitchen gets chaotic, “what is this?” becomes a dangerous question. Every container must have a date and a time written on it the moment it hits the cooling stage. I’ve seen staff try to guess how long something has been cooling because the label fell off—that’s when mistakes happen.
- Trust the Probe, Not Your Gut. I’ve heard it a thousand times: “It feels cold enough to me.” Your skin is not a calibrated thermometer. If your procedure says you need to hit 20°C within two hours, use the probe to prove it. It’s much easier to defend a temperature log to an inspector than it is to explain why you “thought” the gravy was cold.
The Three Things That Actually Matter When the Kitchen Gets Busy
Stop aiming for perfection and start aiming for the log; if you haven’t recorded the temperature at the two-hour and four-hour marks, you haven’t actually cooled it, you’ve just guessed.
Small batches are your best friend—if you’re trying to force a massive, deep catering pot of stew into a single fridge shelf, you’ve already lost the battle against the danger zone.
Use the tools you actually have time to use, whether that’s an ice bath or shallow GN pans, because a “perfect” cooling plan that nobody follows is just wasted paperwork.
Frequently Asked Questions
We’re already running behind on service; is there any way to speed up the cooling process without just shoving a massive, steaming pot into the walk-in and risking the temperature of everything else?
Look, I’ve seen the steam rising off a massive stockpot in a walk-in, and it’s a disaster waiting to happen—both for your food and your fridge’s compressor. If you’re behind, don’t just shove it in. Divide it. Get that liquid into smaller, shallow cambros or even clean hotel pans. Increasing the surface area is the fastest way to cheat the clock without turning your fridge into a sauna. It’s more washing up, but it’s better than a massive fine.
My staff are great at the cooking part, but they struggle with the paperwork—how much detail do I actually need in my cooling logs to satisfy an inspector without it becoming a full-time job?
Look, I don’t need a novel; I need proof of control. If I walk in, I’m looking for two specific data points: the time the food left the heat and the time it hit 5°C. If those numbers are there, I know you’re actually watching the clock. Don’t waste time writing “cooled well”—that tells me nothing. Just give me the timestamps and the final temp. If the math works, the paperwork works.
If we don't have the budget for expensive blast chillers, what are the most practical, low-cost tools we can use to make sure we aren't hitting that danger zone during a busy shift?
Look, I’m not going to tell you to go out and buy a £5,000 blast chiller you can’t afford. If you’re working with what you have, focus on surface area. Invest in shallow GN pans—the shallower the better—and use ice baths for anything that needs to drop fast. If you have the space, a dedicated prep sink filled with ice and water is your best friend. It’s low-tech, but it actually works when the rush hits.