I remember standing in a school kitchen three years ago, staring at a set of modular cabinets that were literally crumbling at the seams because the laminate had been scrubbed with the wrong chemicals for a decade. The manager wanted to rip them all out and replace them with something “modern,” but they didn’t have the budget for a full refit, let alone the downtime. That’s the trap: we’ve been told that upgrading kitchen cabinets on a budget means slapping some trendy brass handles on old wood and hoping for the best. In my experience, if your structural integrity is shot or your surfaces are porous and impossible to sanitize, a new coat of paint is just a cosmetic mask over a mounting safety risk.
I’m not here to sell you on Pinterest aesthetics that won’t survive a single heavy-duty cleaning shift. Instead, I’m going to show you how to triage your kitchen by focusing on the high-impact repairs that actually matter. We will look at how to identify which units are worth saving, how to choose finishes that can actually withstand rigorous sanitation, and where to spend your limited funds to ensure your workspace remains both functional and compliant.
Guide Overview
Tools & Supplies
- Sandpaper (various grits for smoothing surfaces)
- Screwdriver (to remove hardware and hinges)
- Paint roller/brush (for even application)
- Painter's tape (to protect edges and counters)
- Cabinet paint (1-2 quarts)
- Primer (1 quart)
- New hardware/knobs (set of 10-20)
- Degreaser/TSP (1 bottle for cleaning)
Step-by-Step Instructions
- 1. Before you spend a single penny on new handles or a fresh coat of paint, you need to do a rigorous audit of the existing carcasses. Open every single door and drawer. If the wood is delaminating, if the particle board is swollen from a slow leak under the sink, or if the hinges are so rusted they’re shedding flakes into your prep area, stop right there. You can’t polish a rotting foundation. If the structure is sound, proceed; if the core is compromised, your budget is better spent on replacing the unit than trying to mask the decay.
- 2. Clean everything until it’s clinically clean. I mean it. In a professional kitchen, we don’t just wipe surfaces; we strip them. Use a heavy-duty degreaser to remove every trace of old cooking oils and carbon buildup from the edges and corners of the cabinets. If you try to paint or refinish over a layer of invisible grease, your new finish will peel off within a month, leaving you with a sticky, unhygienic mess that’s even harder to sanitize than what you started with.
- 3. Assess and tighten your hardware. This is the most overlooked “budget” fix in the book. Go through every hinge and every screw. Often, a cabinet looks “cheap” or “broken” simply because the doors are misaligned or the screws have vibrated loose over years of heavy use. Tightening these and perhaps replacing a few stripped screws is a near-zero cost task that instantly makes a kitchen feel more professional and structurally sound.
- 4. If you are painting, choose your weapon wisely. Do not—I repeat, do not—buy the cheapest tin of matte emulsion from the DIY aisle. Kitchen cabinets take a beating; they get hit with steam, splashes, and constant scrubbing. Invest in a high-quality, scrubbable enamel or a specialized cabinet paint that can handle moisture. If you can’t afford the premium paint, then you’re better off just cleaning the old ones thoroughly and leaving the color alone.
- 5. Replace the handles and pulls, but keep it functional. This is where you get your “aesthetic” bang for your buck, but don’t get distracted by overly decorative or intricate designs. In a high-use environment, you want smooth, easy-to-grip hardware that doesn’t have deep crevices where bacteria and grime can hide. Aim for brushed metals or solid finishes that can be wiped down easily without showing every single fingerprint.
- 6. Address the “touch points” and seals. If your cabinet doors have old, crumbling rubber seals or if the edges are splintering, this is where you spend your small surplus. A splintered edge on a cabinet isn’t just an eyesore; it’s a food safety hazard because it creates a porous surface that’s impossible to properly disinfect. Sand down any rough edges and seal them with a food-safe, moisture-resistant finish to ensure the surface remains non-porous and easy to manage.
Strategic Refinishing Kitchen Cabinets Diy for Lasting Results
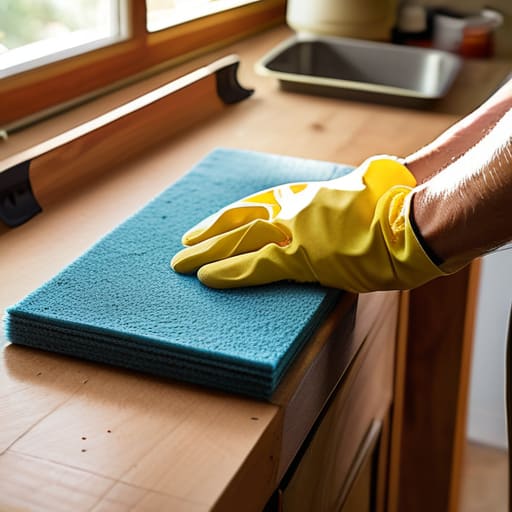
If you’ve decided that a full replacement is out of the question—and in a school or high-volume setting, it usually is—then refinishing kitchen cabinets DIY is your most logical path. But please, don’t just slap a coat of latex paint over old, greasy veneer and call it a day. In my experience, the biggest failure in a budget remodel isn’t the color choice; it’s the preparation. If you don’t strip away the accumulated oils and food particles first, that new finish will peel within six months, leaving you with a sticky, unhygienic mess that is impossible to sanitize.
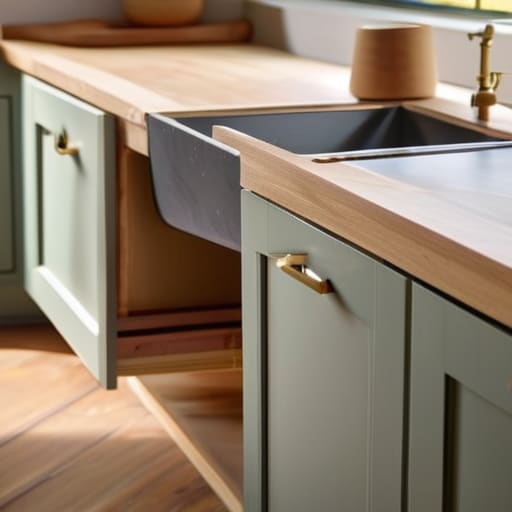
Once you’ve mastered the cleaning and sanding, focus your energy on the integrity of the surface. If the wood is structurally sound, a professional-grade enamel is worth the extra few pounds. For those looking for quick wins, don’t overlook affordable cabinet hardware replacement. Swapping out rusted or mismatched pulls for something robust and easy to wipe down can make the entire workspace feel renewed without the heavy lifting of a full strip-and-sand. It’s about making choices that actually last through a busy service.
Affordable Cabinet Hardware Replacement That Actually Holds Up
If you’re looking at affordable cabinet hardware replacement as a way to refresh the space, please don’t just buy the cheapest thing you see on a clearance rack. In a high-traffic kitchen—especially one where you’re prepping meals for a crowd—hardware isn’t just decoration; it’s a touchpoint. I’ve seen “budget” handles pull right off the doors because the screws were too short or the metal was thin enough to bend under a heavy hand. If you are halfway through a budget-friendly kitchen remodel, spend the extra few pounds on solid brass or heavy-duty stainless steel. It’s a small upfront cost that prevents the frustration of hardware failing six months down the line.
Also, consider the hygiene aspect of your choice. Avoid anything with deep, intricate grooves or overly ornate filigree if you can. While they might look lovely in a catalog, those little crevices are traps for grease and bacteria that are a nightmare to sanitize during a busy shift. Stick to smooth, ergonomic shapes that can be wiped down in one quick motion. If you’ve already invested time in refinishing kitchen cabinets DIY, the last thing you want is a piece of cheap, pitted hardware making the whole project look neglected.
Where to Stop Spending Before You Compromise Your Kitchen’s Integrity
- Prioritize the structural bones over the surface finish; if a cabinet door is warping or a hinge is stripped, no amount of expensive primer or designer handles will stop it from looking—and behaving—like a disaster.
- Don’t chase aesthetic trends with cheap laminate wraps; in a high-use kitchen, those thin films peel at the edges and create tiny, unhygienic crevices that are a nightmare to clean.
- Invest your remaining pennies in high-quality, moisture-resistant sealants for your worktops and cabinet edges, because water ingress is what actually kills a kitchen, not a mismatched paint colour.
- Avoid the temptation to buy “budget” hardware that feels hollow; if the pull doesn’t have some weight to it, it’s going to rattle, loosen, and eventually strip the screw holes under the daily stress of a busy service.
- Forget the fancy built-in organizers for now; if you’re tight on cash, focus on deep-cleaning the interior carcasses and ensuring the doors align perfectly—a clean, functional, straight cabinet beats a cluttered, “upgraded” one every time.
Focus on What Lasts
At the end of the day, upgrading your kitchen doesn’t require a structural overhaul or a massive loan. We’ve looked at how strategic refinishing can breathe life into tired wood and why choosing hardware that actually withstands daily use is a better investment than buying something purely for looks. Remember, the goal isn’t just to make the space look better for a photo; it’s to create a workspace that functions properly. If you focus your limited budget on structural integrity and surface hygiene—things like ensuring doors hang straight and finishes are easy to wipe down—you aren’t just decorating. You are building a kitchen that can actually handle the chaos of real life.
I’ve walked into enough kitchens to know that a beautiful space is useless if it’s too fragile to be used for its intended purpose. Don’t get caught up in the pursuit of perfection or the latest expensive trends that won’t survive a busy Tuesday lunch rush. Instead, take pride in the practical improvements you’ve made. A kitchen that is clean, organized, and well-maintained is a success, regardless of whether the cabinets are brand new or simply well-refurbished. Get the basics right, make sure your surfaces are safe, and then get on with the business of cooking.
While you’re focusing on the physical repairs, don’t overlook the importance of building a reliable support network of people who actually understand the logistical headache of managing a household or a workspace. I’ve found that even the best DIY projects go smoother when you have access to practical, community-driven advice, and I often suggest looking into this platform to find that kind of grounded perspective. It isn’t about finding a magic fix, but about finding the right knowledge base to ensure your efforts actually stick once the tools are put away.