I’ve stood in enough school kitchens at 11 PM to know that a glossy, high-end brochure means absolutely nothing when you’re staring at a puddle of spilled gravy and a staff member who is too tired to care. Most consultants will try to sell you on the latest aesthetic trends or complex, multi-layered specifications that look great in a pitch deck but fail the moment they meet a heavy trolley. They make it sound like a science project, but when we talk about how flooring should be chosen, the reality is far more unforgiving. If a floor looks expensive but turns into a skating rink the second it gets damp, it isn’t a solution; it’s a liability waiting to happen.
I’m not here to talk about what looks pretty in a design magazine. My goal is to give you a practical framework for making decisions that actually hold up under the pressure of a high-volume service. I will show you how to look past the sales pitch and focus on the durability and ease of cleaning that your team can actually maintain when they are short-staffed and exhausted. We are going to talk about where to put your money so that your floor remains a safe, functional part of your kitchen rather than your biggest maintenance headache.
Table of Contents
Prioritizing Durability and Wear Resistance Over Aesthetics
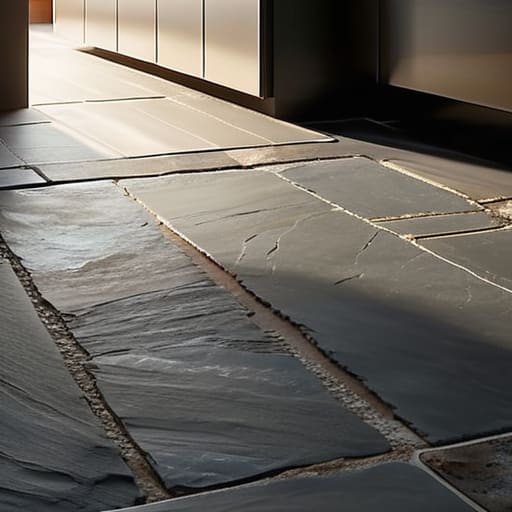
I’ve walked into far too many kitchens where the floor looks stunning in the brochure but becomes a liability within six months. When you’re looking at a budget, it is incredibly tempting to go for that polished, high-end look that makes the space feel modern. But let’s be honest: a kitchen isn’t a showroom; it’s a high-traffic zone of heavy trolleys, dropped pans, and constant scrubbing. If you don’t prioritize durability and wear resistance, you aren’t saving money—you’re just deferring a massive maintenance bill.
You need to focus on materials that can actually handle the daily grind without cracking or peeling. I’ve seen “pretty” floors fail because they couldn’t cope with the chemical cleaners required to keep the space safe, leading to pitted surfaces that become absolute breeding grounds for bacteria. Instead of chasing a trend, look for hygienic flooring solutions that are specifically engineered to withstand the physical impact of a busy service. If the surface can’t survive a heavy pot being dropped or a deep clean at 9 PM, it has no business being in your kitchen.
Navigating Slip Resistance Ratings Explained for Real Staff
Now, let’s talk about those slip resistance ratings. If you look at a technical data sheet, you’ll see a sea of acronyms like R9, R10, or R11. To a salesperson, these are just numbers; to me, they are the difference between a staff member finishing their shift or finishing it in an ambulance. When I’m walking through a school kitchen during the mid-morning rush, I’m not looking at the certificate in your folder; I’m looking at how that floor behaves when there’s a splash of milk or a stray bit of grease near the prep station.
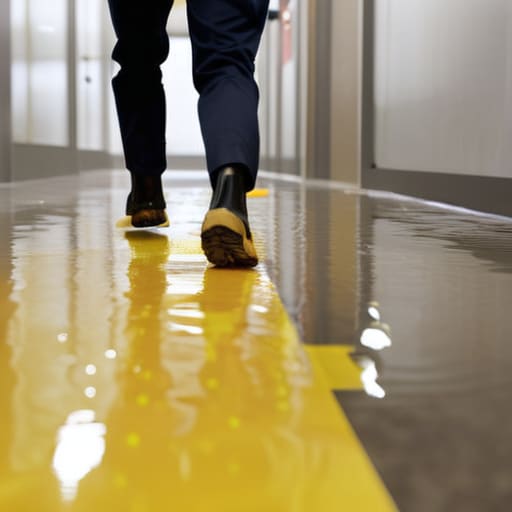
Don’t get caught in the trap of thinking a high rating solves everything if the moisture management in flooring is ignored. A floor might have a great rating when bone-dry, but if it becomes a skating rink the moment a pot of pasta water spills, it’s failed you. You need to find the sweet spot where slip resistance ratings explained in the brochure actually translate to traction under real-world conditions—meaning wet, greasy, and high-traffic. Aim for a rating that accounts for the mess, not just the pristine showroom version.
Five Real-World Rules for Picking a Floor That Won't Fail You
- Stop obsessing over the colour and start looking at the grout. If you pick a high-end tile with deep, wide grout lines, you’ve just handed your cleaning team a nightmare. In a school kitchen, those lines become traps for grease and old food within a week. Aim for seamless finishes or very tight, non-porous joints that a mop can actually clear in one pass.
- Think about your cleaning tools, not just your mop. I’ve seen beautiful floors ruined because the only way to get them clean is with a specialized chemical or a machine that the kitchen staff doesn’t have the time (or the training) to use. If you can’t clean it with a standard deck brush and a sturdy mop at the end of a long shift, it’s the wrong floor.
- Plan for the “wet zones” specifically. You don’t need the highest-rated slip resistance in the dry storage area, but you absolutely do where the pot wash is or near the prep sinks. Don’t waste your budget on expensive, high-grip flooring for the whole room if you can instead invest in a heavy-duty, specialized non-slip solution for the high-risk zones.
- Consider the “impact factor” of your equipment. You aren’t just walking on this floor; you’re dropping heavy stock pots, dragging trolleys of trays, and moving heavy prep bins. A floor that looks great but cracks the first time a staff member bumps it with a trolley is a massive waste of money and a potential trip hazard waiting to happen.
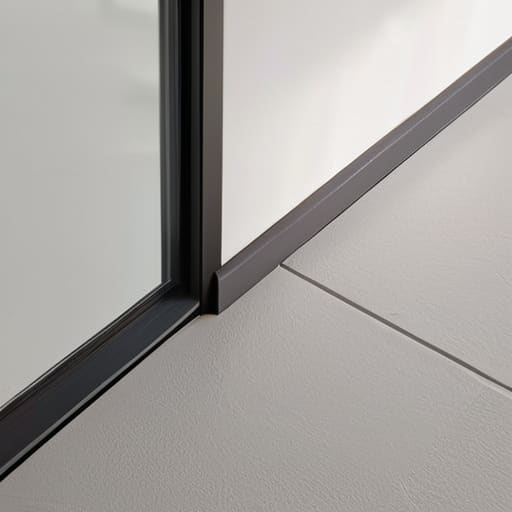
- Check the “coving” requirements before you sign the contract. I can’t tell you how many times I’ve walked into a kitchen where the floor meets the wall at a sharp 90-degree angle, creating a perfect corner for bacteria to hide. Ensure your flooring choice allows for easy, curved coving—it makes the transition between floor and wall easy to wipe down and much harder for grime to settle into.
The Bottom Line: What Actually Matters When the Rush Starts
Stop shopping for looks; if the floor looks beautiful but can’t survive a heavy-duty scrub at 9 PM after a double shift, you’ve just wasted your budget on a liability.
Slip resistance isn’t a theoretical number on a spec sheet—it’s the difference between a staff member finishing their shift or a trip to the A&E because the floor turned into an ice rink under a bit of spilled sauce.
Choose materials that play well with your existing cleaning routine; if a “high-spec” floor requires a specialized chemical and a specific mop that your team doesn’t have time to use, it’s not a solution, it’s a problem.
Frequently Asked Questions
We’ve already replaced the floor tiles, but how do we stop the grout from becoming a breeding ground for bacteria within a few months?
Look, I’ve seen too many “new” floors turn into a biohazard nightmare because of the grout. If you’ve gone with porous grout, you’re fighting a losing battle. You need an epoxy grout—it’s non-porous and harder to scrub, but it’s a lifesaver because it doesn’t soak up grease and old mop water. If you can’t replace it, you must seal it properly and make sure your team isn’t just pushing dirty water into those cracks every night.
If we’re working with a tiny budget, is it better to buy a cheap floor now or save up for a high-spec one that lasts five years longer?
Buy the better floor. I’ve seen too many kitchens try to save a few quid on cheap vinyl, only to have it crack or delaminate within eighteen months. Once that happens, you aren’t just out the initial cost; you’re facing an emergency replacement, potential trip hazards, and a nightmare of deep-cleaning around damaged seams. If you can’t afford the high-spec option today, don’t buy the cheap one—find a middle ground that actually holds up.
How often should we actually be checking the integrity of our floor seals and coving to make sure they haven't started trapping moisture?
Don’t wait for a formal audit to find a gap in your coving. If you’re running a high-volume kitchen, you should be doing a visual check every single week—ideally during your deep clean rotation. Look for lifting edges or cracks where water pools. If moisture gets trapped under the seal, you aren’t just looking at a maintenance headache; you’re looking at a breeding ground for Listeria that no amount of surface scrubbing will fix.