I’ve lost count of how many times I’ve walked into a school kitchen, seen a stack of pristine, perfectly signed-off cleaning schedules, and then spotted a layer of dried-on starch under the edge of the prep table. It’s the great lie of food safety: the belief that a tick in a box is the same thing as a clean surface. Most of the expensive, high-tech “verification” gadgets I see being pushed on managers are just expensive distractions from the reality of a busy service. If you want to know how to verify cleaning effectiveness, stop looking at your paperwork for a second and start looking at the places where the light doesn’t hit.
I’m not here to sell you on fancy swabs or complicated digital audits that your staff will end up ignoring by week three. Instead, I want to talk about the small, boring, and repeatable checks that actually work when you’re short-staffed and the lunch rush is looming. I’m going to show you how to build a verification routine that focuses on the high-risk spots—the things that actually matter—and how to make sure it’s actually happening without turning your kitchen into a courtroom.
Table of Contents
Practical Surface Cleanliness Assessment for Busy Kitchens
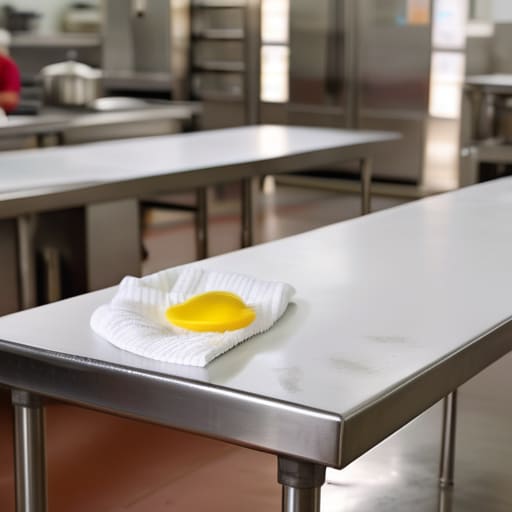
If you’re running a school kitchen with three staff members and a lunch rush looming, you don’t have time for a laboratory. Forget about expensive microbiological testing methods that take three days to return a result; by then, the food is gone and the mistake has already happened. Instead, I want you to focus on a visual and tactile surface cleanliness assessment that actually means something.
When I walk into a kitchen, I’m not looking for a shiny floor; I’m looking at the undersides of prep tables and the gaskets on the reach-in fridges. A proper check means running a clean, gloved finger along the edge of a cutting board or the rim of a sink. If you feel grit, you haven’t cleaned; you’ve just moved the dirt around. If you want to get serious without breaking the bank, you might look into ATP bioluminescence testing—it gives you an instant reading on organic matter—but honestly, most teams find more success with a simple, structured checklist that focuses on the high-touch zones that actually carry the risk.
Why Sanitation Monitoring Protocols Must Be Sustainable
Look, I’ve seen it a dozen times: a manager buys a fancy kit for ATP bioluminescence testing because they think it makes them look “professional” or “compliant,” only to have the device sit in a drawer gathering dust three weeks later. If your sanitation monitoring protocols require a staff member to spend twenty minutes on a single prep table during a lunch rush, they aren’t going to do it. They’ll just tick the box, sign the sheet, and move on to the next crisis.
A protocol that fails the “reality test” is worse than having no protocol at all, because it gives you a false sense of security. You can’t build a safety culture on expensive, high-tech hygiene validation techniques that your team views as a chore rather than a tool. If you can’t sustain the process during your busiest service, you haven’t actually built a control; you’ve just bought a very expensive paperweight. We need to focus on systems that actually stick, even when the kitchen is under pressure and the delivery driver is shouting for a signature.
Five ways to tell if your cleaning is actually working (without a lab coat)
- Stop looking at the shiny bits. If you only check the middle of the prep table, you’re missing the point. I want you to check the undersides of the prep surfaces, the gaskets on the fridge doors, and the floor drains. If those are filthy, your “clean” kitchen is just a thin veneer.
- Use the “white glove” test, but make it practical. You don’t need a lab; you need a high-intensity torch and a clean, white paper towel. Run it along the edges of the shelving or the back of the spice rack. If it comes back grey or greasy, your cleaning sequence is broken, regardless of what the sign-off sheet says.
- Watch the staff, don’t just read the logs. I’ve seen more “perfect” cleaning schedules than I care to count, but they don’t mean a thing if the team is just wiping the same spot with a dirty cloth. Spend ten minutes watching the flow—see if they are actually moving from clean to dirty areas, or if they’re just spreading the grime around to save time.
- Smell is your most underrated tool. A kitchen shouldn’t smell like “nothing,” but it definitely shouldn’t smell like old mop water or sour milk hiding in a corner. If you walk into a kitchen and your nose tells you something is off, trust it. That’s your first sign that your verification process is failing.
- Check the equipment, not just the surfaces. A clean table is useless if the slicer underneath it or the internal seals of the dishwasher are caked in old debris. Real verification means looking into the nooks and crannies of the machines that actually touch the food.
The Bottom Line for Your Kitchen
Stop chasing perfection with complex checklists; if your team can’t perform the check in under two minutes without getting frustrated, they won’t do it, and you won’t have any real data to work with.
Focus your verification on the high-risk “blind spots”—the undersides of prep tables, the seals of the reach-in fridges, and the corners of the floor drains—rather than wasting time re-checking surfaces that are easy to see.
Use your monitoring as a training tool, not a policing tool; if you find a gap, don’t just mark it as a failure, look at whether the cleaning sequence actually allows for that area to be reached during a busy service.
Frequently Asked Questions
I don't have a budget for ATP swabs or fancy testing kits; what can my team actually use to check if a surface is clean without it taking twenty minutes?
Look, I’ve seen enough “state-of-the-art” testing kits sit in cupboards gathering dust because they’re too expensive or too complicated. If you don’t have the budget for ATP swabs, stop worrying about the science for a second and focus on the sensory. Use the “white glove” method, but make it smarter: a clean, dry paper towel wiped across a surface after cleaning. If it’s got grit, grease, or a film, it’s not done. It takes ten seconds, costs nothing, and actually tells you if the job was finished.
How do I know if my staff are actually following the cleaning sequence, or if they’re just "surface cleaning" to make the kitchen look tidy for a quick inspection?
Stop looking at the shiny surfaces; that’s how you get fooled. If you want the truth, look at the “hidden” spots—the underside of prep tables, the gaskets on the fridge, or the floor drains. If those are neglected, they aren’t cleaning; they’re just tidying up. Instead of a massive weekly audit, do a quick, unannounced “spot check” on one specific piece of equipment each day. It’s small, it’s boring, but it tells you everything.
If I'm running a skeleton crew during a lunch rush, what is the absolute bare minimum I need to check to ensure we aren't cross-contaminating between prep cycles?
If you’re in the thick of it with a skeleton crew, forget the deep cleans for a second and focus on the “bridge.” You need to check three things: color-coded boards are actually being used for the right tasks, handwashing is happening between every single protein switch, and your prep surfaces aren’t carrying visual residue from the last batch. If the boards look clean but the prep area smells like raw poultry, you’ve already lost the battle.