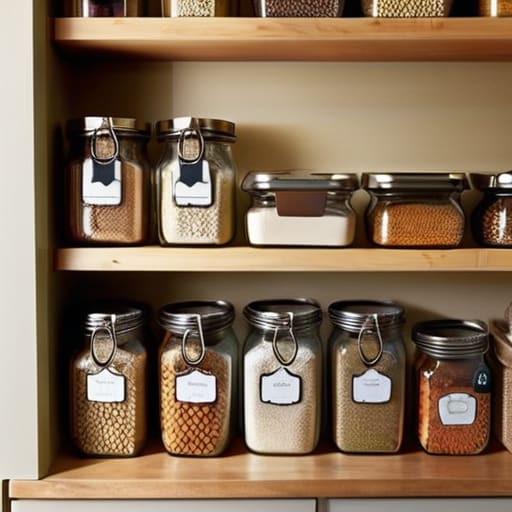
If I see one more social media video suggesting you need a matching set of $40 glass canisters and a label maker to master how to organize a small pantry space, I might actually lose my mind. It’s pure aesthetic nonsense that falls apart the second you actually try to cook a meal. In my sixteen years of inspecting kitchens, I’ve seen plenty of “perfect” pantries that look great for a photo but are a total disaster for food safety. When you’re rushing to get lunch out, you don’t need a museum; you need to know exactly where your high-risk allergens are hiding so you don’t grab the wrong bag in a hurry.
I’m not here to sell you on expensive organizers or complicated systems that require a degree to maintain. Instead, I’m going to show you how to build a layout that actually works under pressure. We’re going to focus on the boring, essential stuff: grouping by usage, managing expiration dates, and creating a flow that prevents cross-contamination. I’ll tell you what is worth your time and what is just clutter in disguise, so you can spend less time digging through shelves and more time actually eating.
Pantry Decluttering Tips for Real World Kitchen Constraints
When I walk into a school kitchen, the first thing I look for isn’t how pretty the shelves are; it’s whether the staff can actually find what they need without digging through a mountain of half-empty bags. If you’re working with a cramped pantry, stop trying to keep everything “just in case.” That half-bag of flour from three years ago isn’t an asset; it’s a pest magnet and a waste of precious real estate. Start by ruthlessly purging anything expired or unidentifiable. You need to create a space where you can see the labels and the dates at a glance, because in a rush, nobody is going to read the fine print on a dusty tin at the back of the shelf.
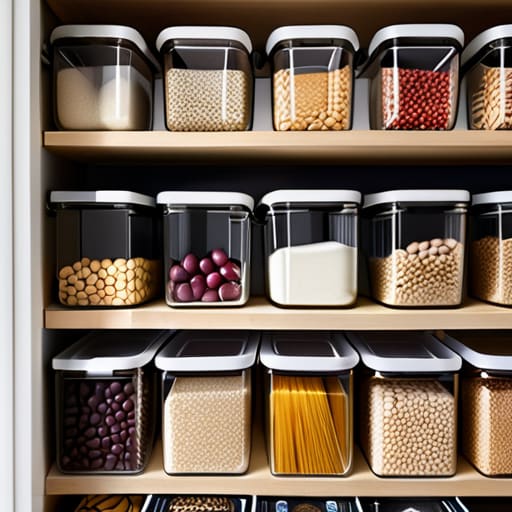
Once you’ve cleared the dead weight, focus on visibility. I’m a huge advocate for using clear airtight food containers for your dry goods. It’s not just about looking tidy; it’s about knowing exactly when you’re running low on a staple before it becomes an emergency during a lunch service. If you have deep, dark shelves that swallow ingredients, don’t fight it—use lazy susan pantry ideas to bring the stuff in the back right to the front. It’s a simple, low-maintenance way to ensure nothing gets forgotten and eventually wasted.
Maximizing Vertical Pantry Storage Without Losing Control
When you’re working with limited square footage, the biggest mistake I see is treating your shelves like a flat surface rather than a volume. People stack bags of flour or boxes of pasta one on top of the other, and within a week, the bottom item is forgotten, potentially expired, or—worse—becomes a breeding ground for pests because it hasn’t seen the light of day in months. To avoid this, stop stacking and start layering. Using shelf riser pantry organizers is one of the most practical ways to reclaim that dead air between shelves. It turns one unusable cavernous gap into two distinct levels of visibility, ensuring you can actually see what you have before you go buying duplicates.
If you have deep, dark corners where ingredients go to die, don’t bother trying to reach into the back every single time. That’s when things get knocked over and spills happen. Instead, look into lazy susan pantry ideas to bring the back of the shelf to the front. A simple rotating turntable for oils, vinegars, or jars means you aren’t playing a game of high-stakes Tetris just to grab the soy sauce. It keeps your high-use items accessible and, crucially, keeps them within your line of sight so you can monitor for any signs of spoilage or damage.
Five Practical Rules for Keeping a Small Pantry Safe and Functional
- Group by risk, not just by type. I don’t care if your lentils are next to your chickpeas for aesthetic reasons; I care that your flour and your nuts aren’t sitting in a way that makes a cross-contamination error inevitable during a lunch rush. Keep your high-allergen items in a dedicated, clearly marked zone.
- Use the “First In, First Out” method, even in a tiny cupboard. When you bring home new stock, shove the old bags to the front. It’s a boring, repetitive task, but it’s the only way to stop you from finding a bag of expired pasta at the back of the shelf six months from now.
- Ditch the original packaging for high-risk dry goods. Cardboard boxes are porous, they tear, and they hide pests. Transfer your flour, sugar, and grains into clear, airtight containers. If I can’t see the contents and the seal is solid, I’m not happy.
- Stop trying to organize things you don’t use. If you have three half-empty packets of a niche spice you used once in 2022, bin them. In a small pantry, every inch of shelf space is a premium resource; don’t waste it on clutter that just creates more hiding spots for dust and debris.
- Label everything with a date, not just a name. It’s one thing to know you have rice; it’s another to know when that rice was opened. A simple piece of masking tape and a marker is more effective than any expensive labeling machine I’ve ever seen in a professional kitchen.
Making It Stick
At the end of the day, a well-organized pantry isn’t about having a Pinterest-perfect aesthetic or matching glass jars that cost a fortune; it is about functional control. We have talked about decluttering the chaos, using your vertical space to stop things from piling up, and—most importantly—grouping your high-risk ingredients so they don’t get lost in the shuffle. If you can see your stock, you can manage your risks. If you can manage your risks, you aren’t scrambling for a replacement ingredient halfway through a service or, worse, accidentally using an allergen because it was buried behind a bag of flour. Focus on the systems that actually work when the kitchen gets loud and the clock is ticking.
I know how it feels when the budget is tight and the staff is stretched thin; you don’t have time for a storage system that requires constant maintenance. But remember, a little bit of discipline in how you lay out your space saves a massive amount of mental energy later. Don’t try to overhaul the entire kitchen in one afternoon. Just pick one shelf, one zone, or one category of food, and get it right. Build a setup that is sustainable for your real life, not a hypothetical one. Once you get those small, boring basics in place, you’ll find that the kitchen starts to run itself, and you might even find a moment to actually enjoy the cooking.
Once you’ve actually sorted the physical clutter, you need to think about how you manage the information side of things, especially if you’re dealing with complex dietary requirements or a rotating stock of specialty ingredients. I’ve found that trying to keep everything in your head is a recipe for a massive mistake when the lunch rush hits. If you’re feeling overwhelmed by the logistics of managing a high-pressure environment or just need a sounding board to figure out a better workflow, you can chat on aosex to get some fresh perspective. It’s about building systems that actually work for your specific setup, rather than just trying to force a textbook solution onto a kitchen that doesn’t have the luxury of extra hands.